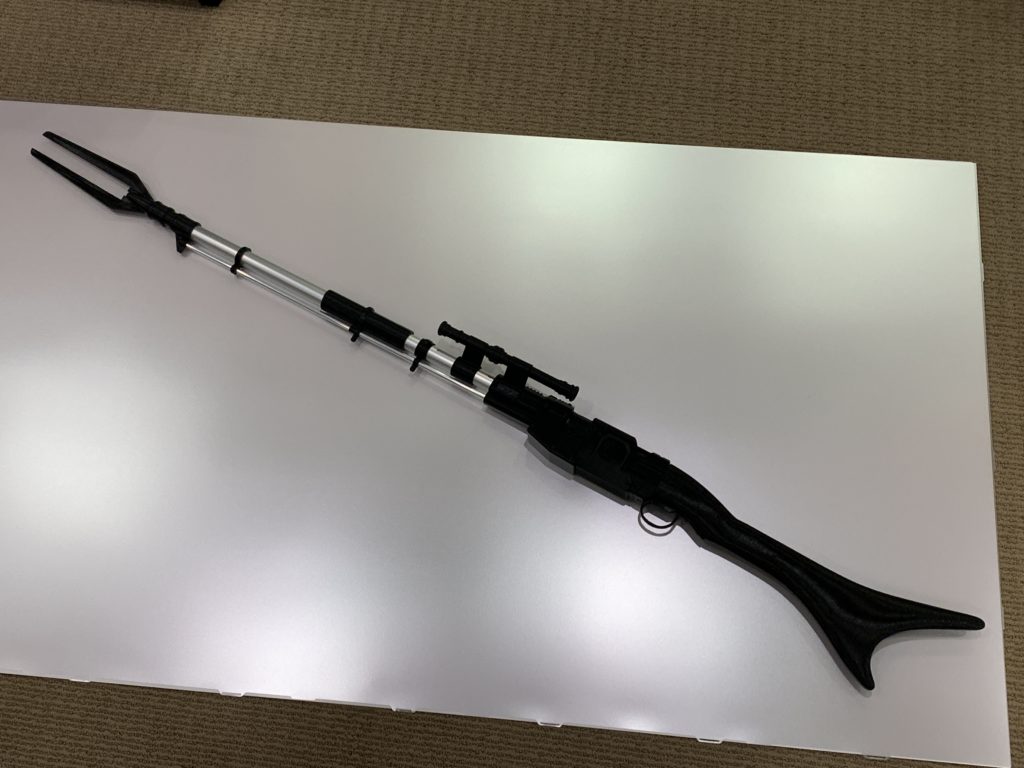
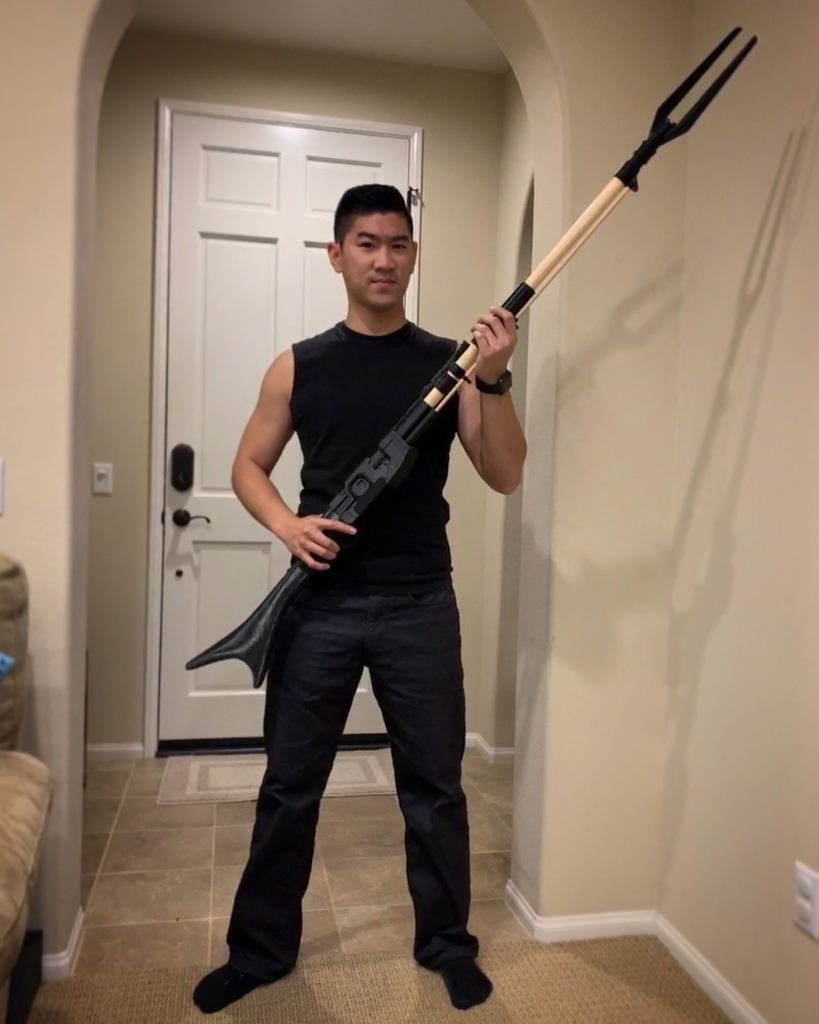
Building a Mandalorian rifle from a 3D print can be tricky with all of the different parts. Here’s how I built mine.
-
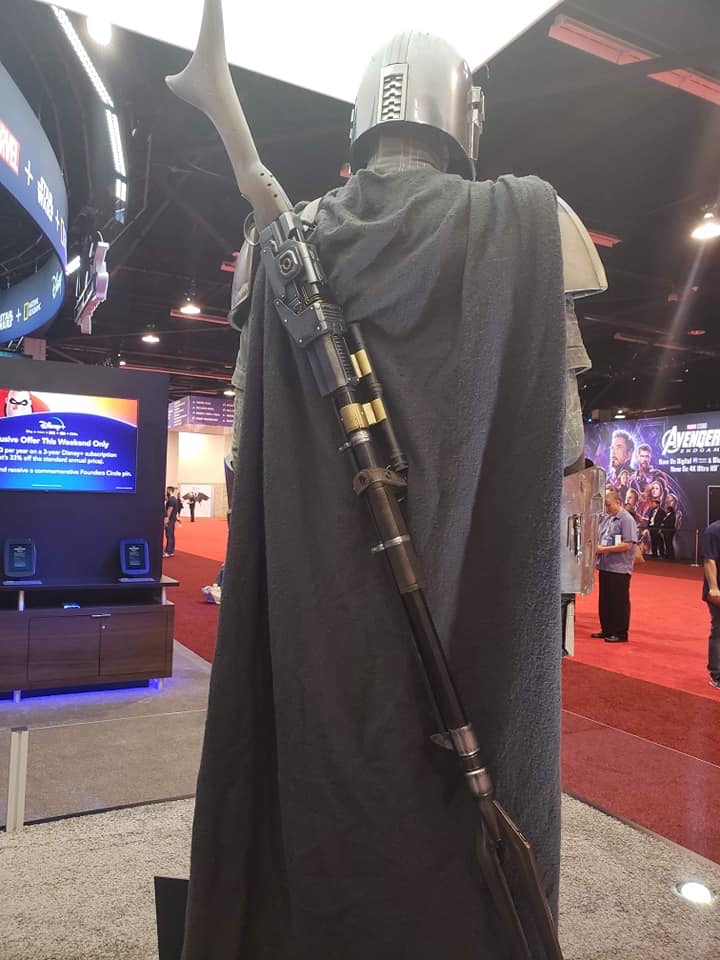
D23 2019 Display
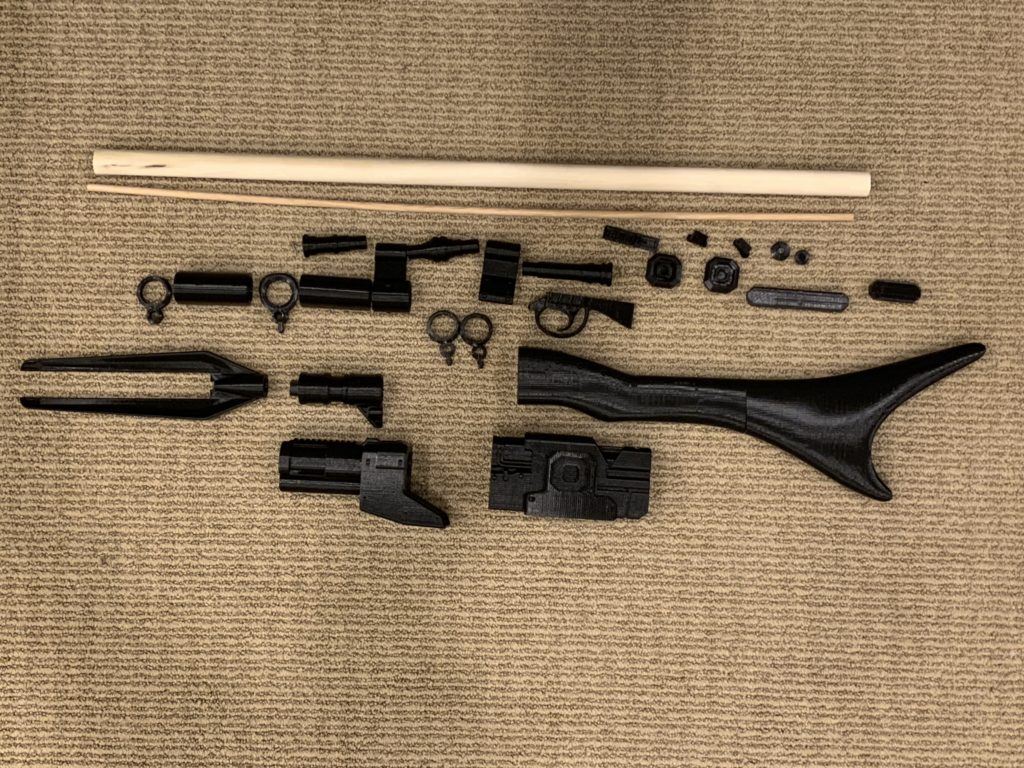
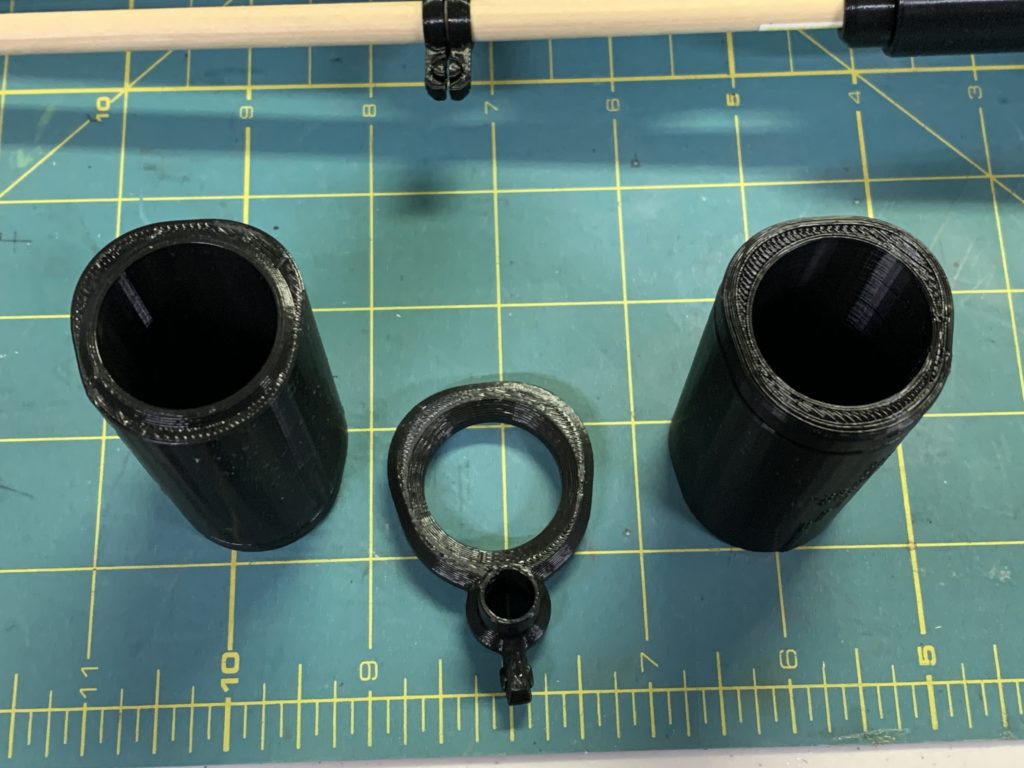
These are the pieces I started with. All of the pieces fit pretty well together. I used superglue and accelerator to glue together. Here’s a link if you’re interested to know where I purchase them. https://amzn.to/35XFcPP
-
Right after printing -
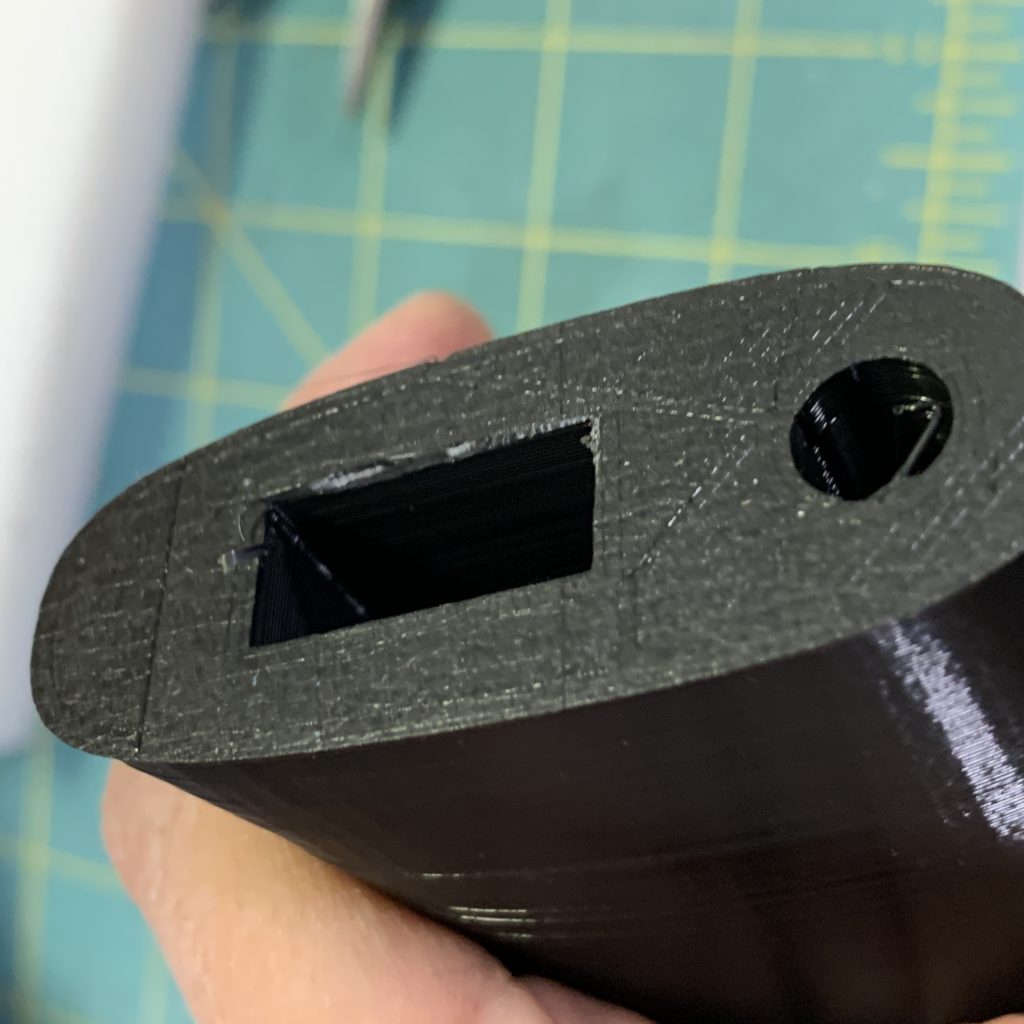
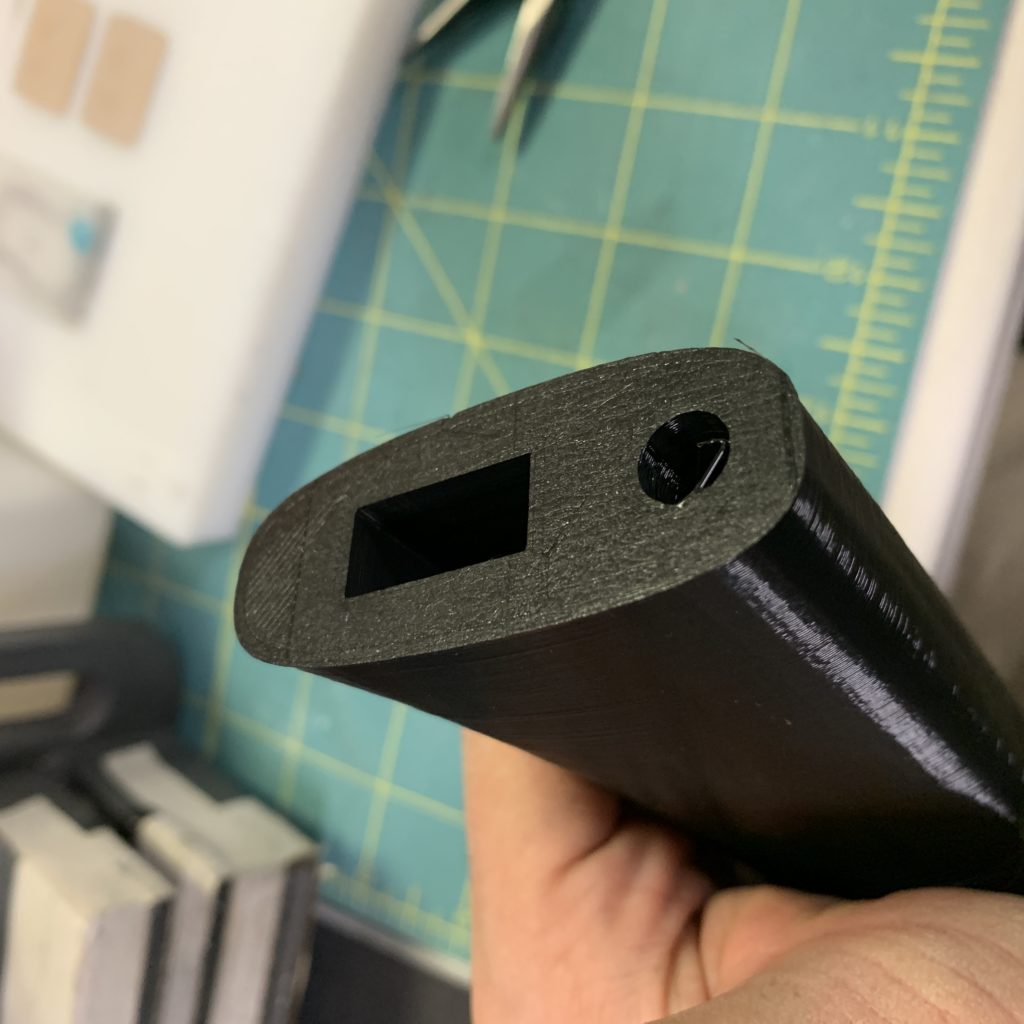
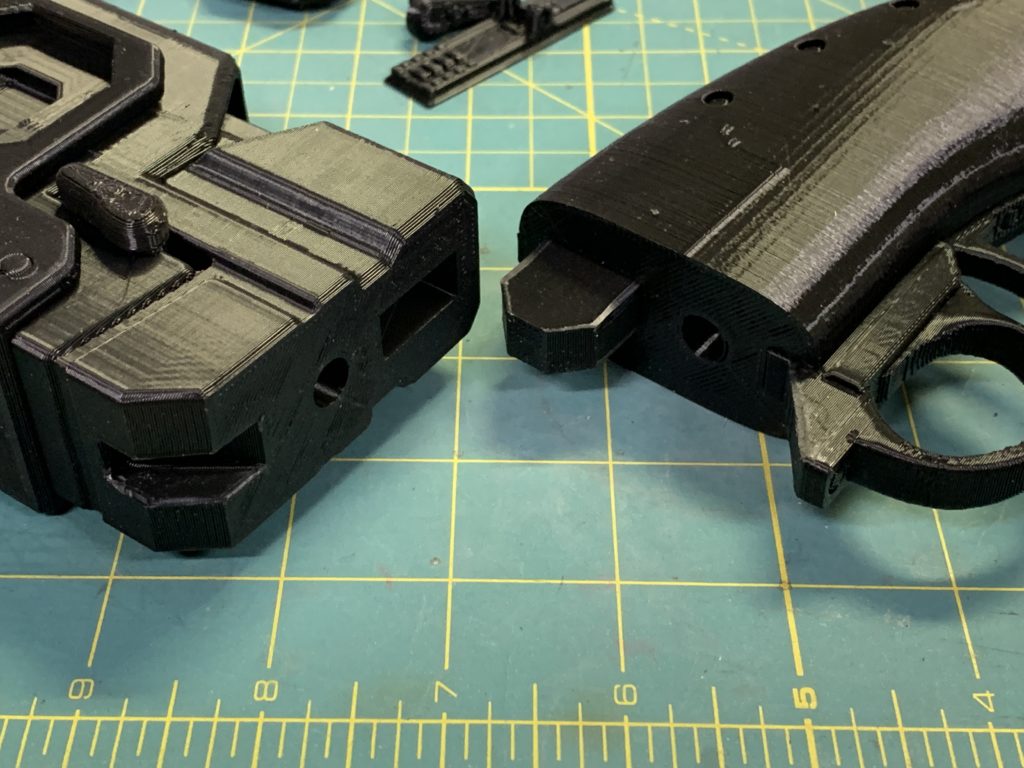
Had to shave a little of the inside so the pieces would fit easier. -
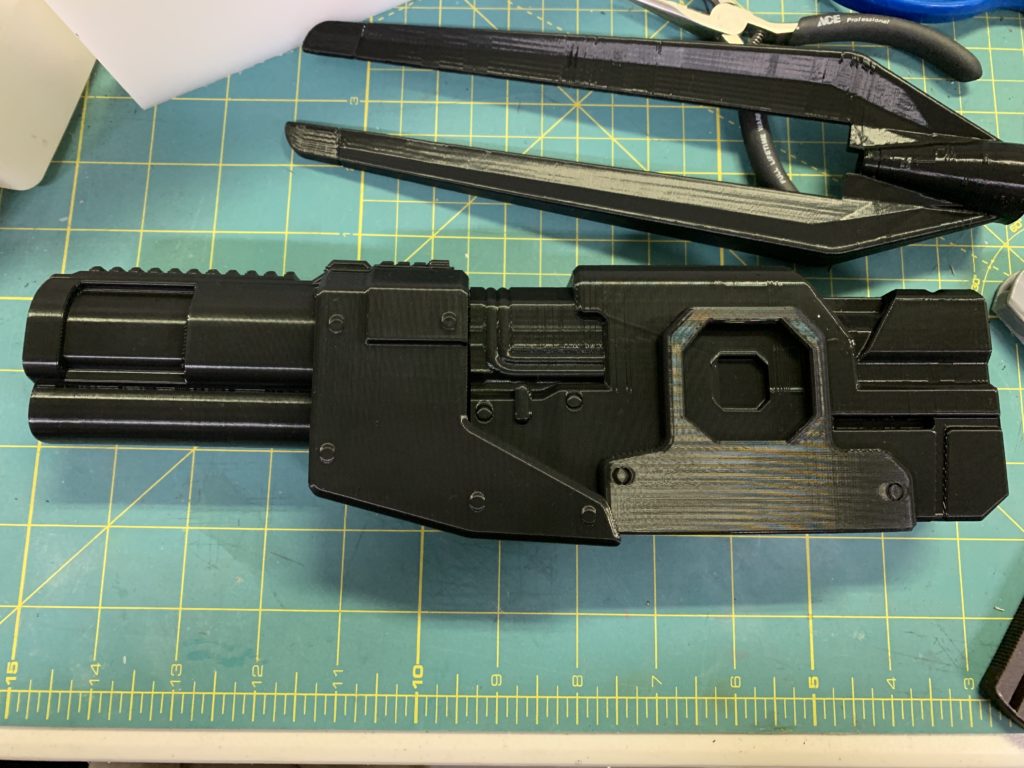
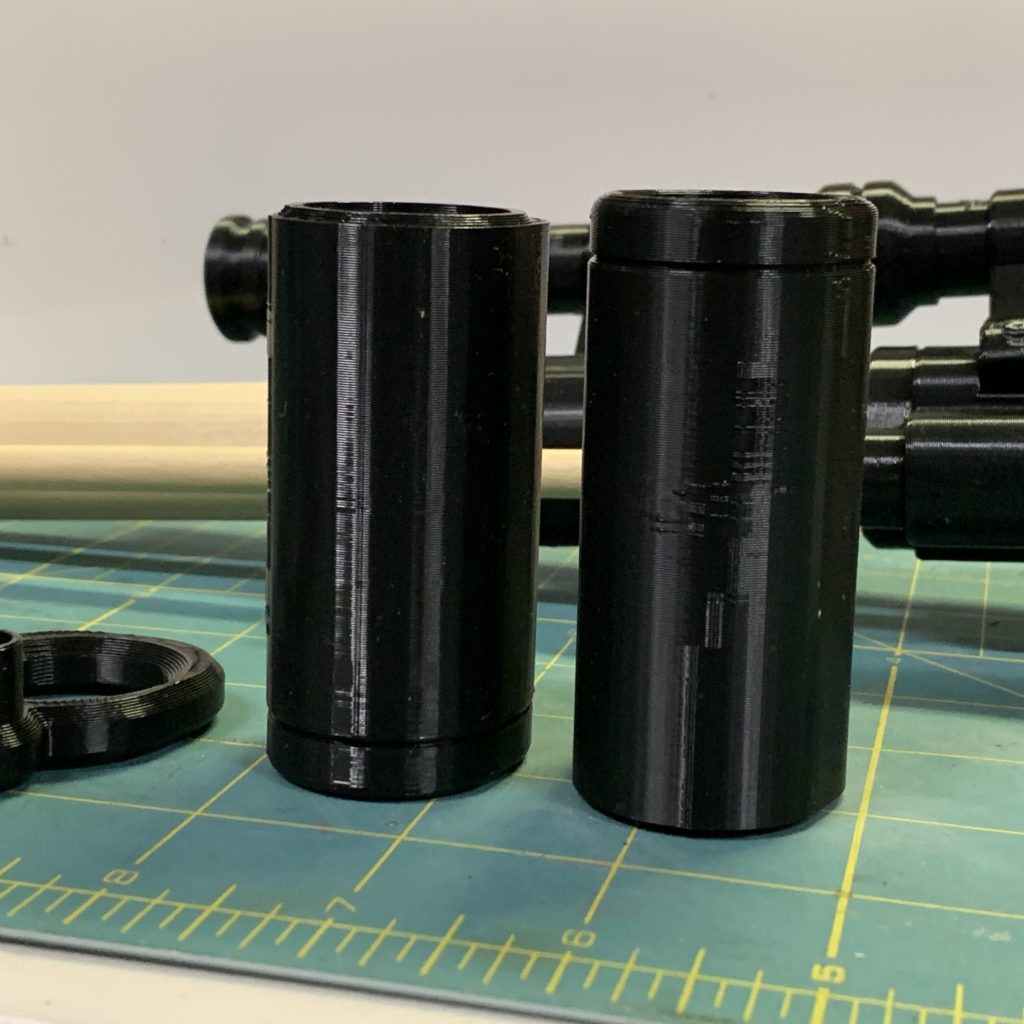
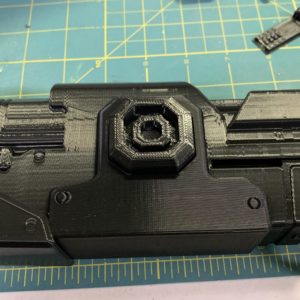
Main body of the rifle -
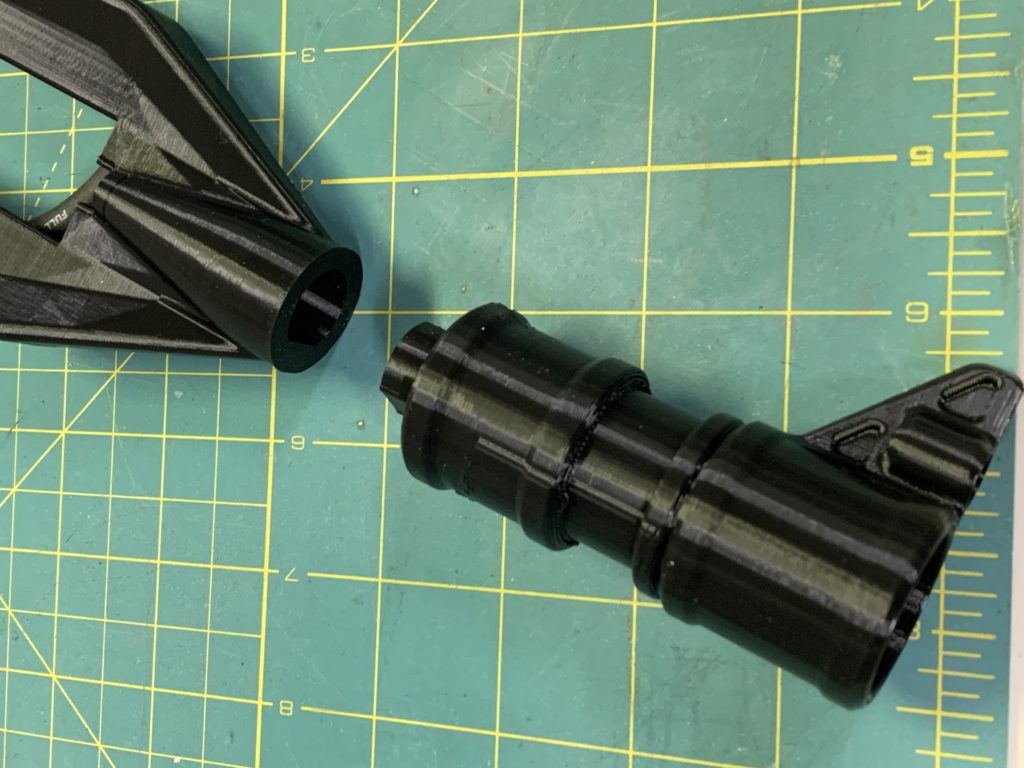
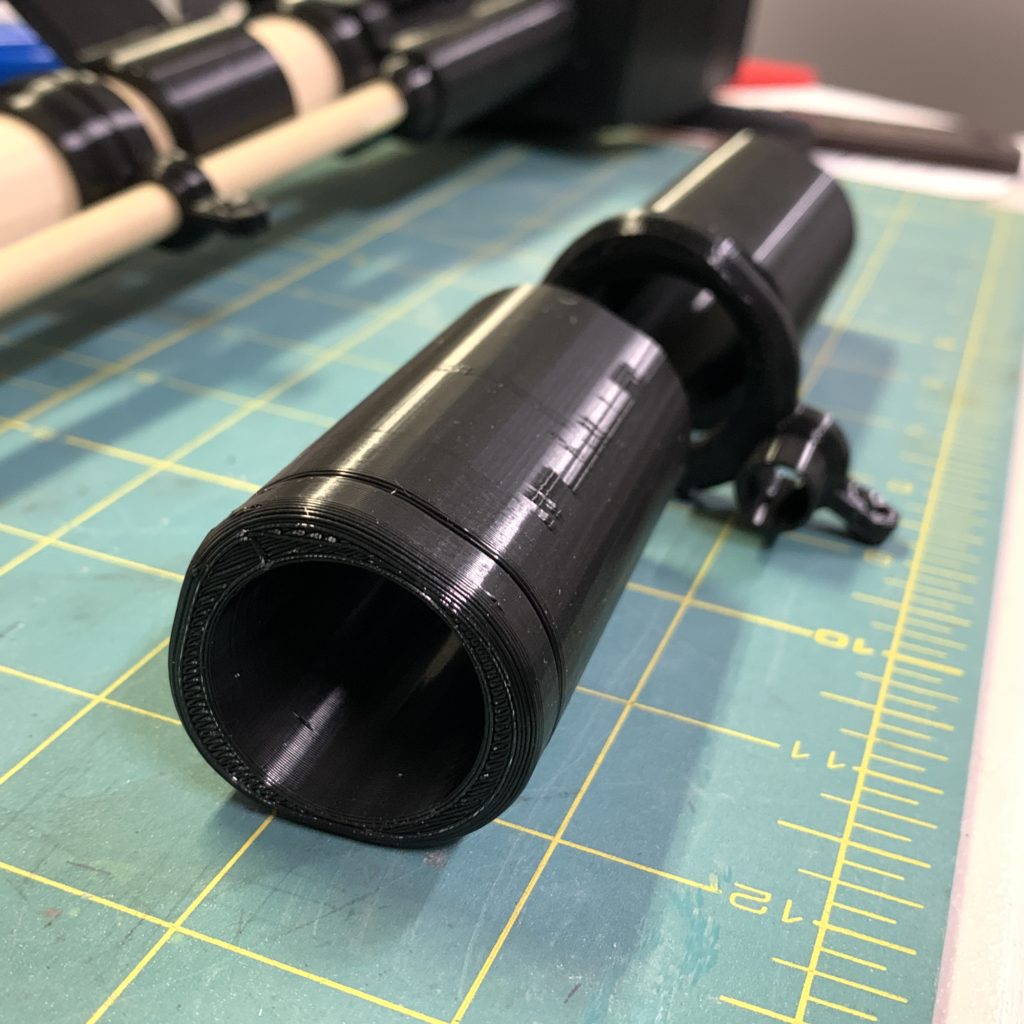
The “fork” and the end cap piecing together. -
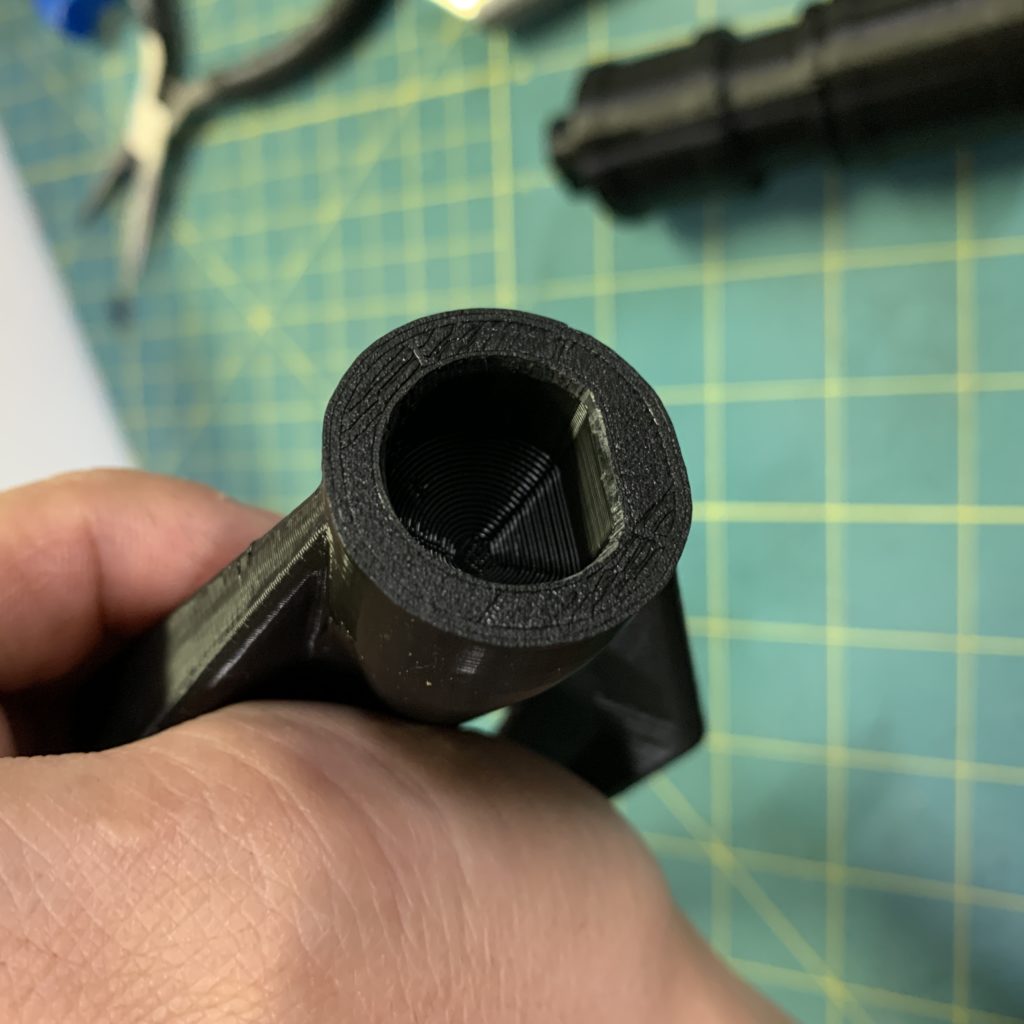
Again, having to trim down the inside with a knife. -
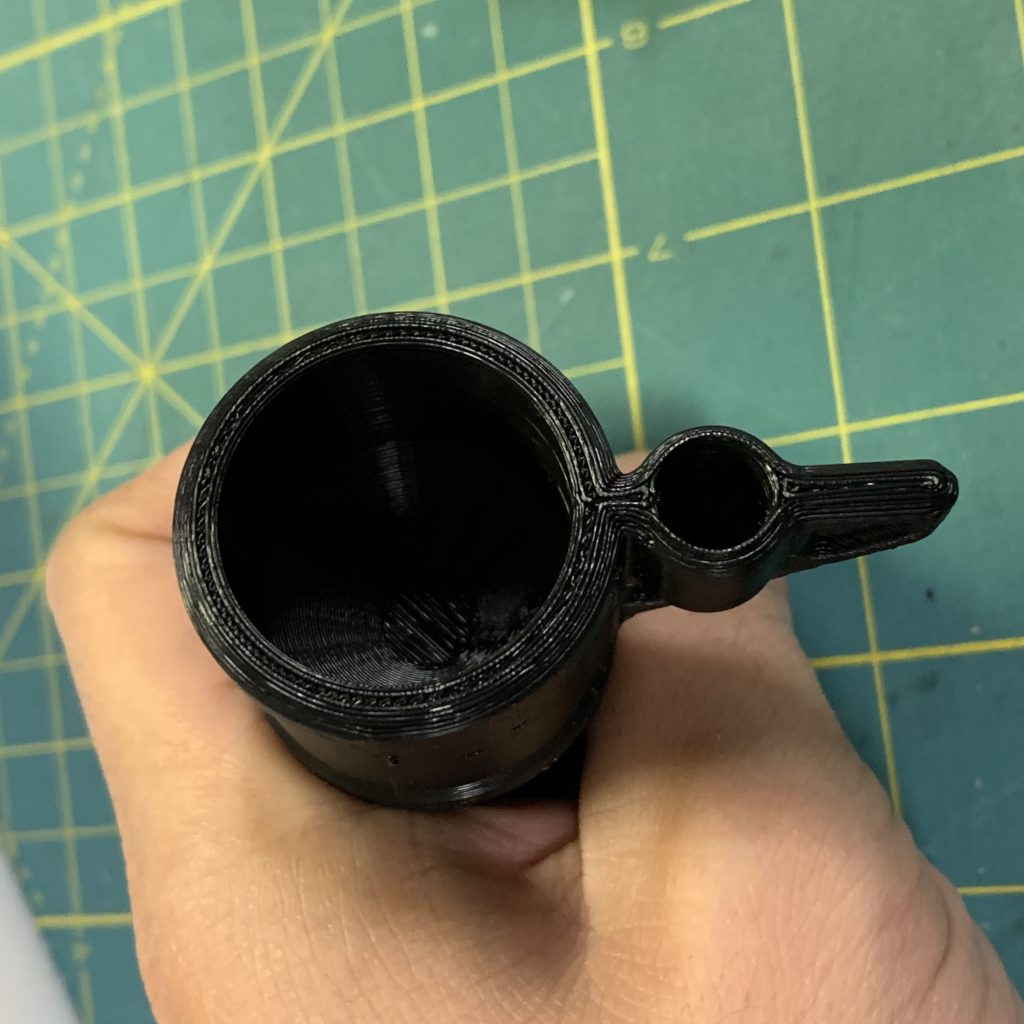
These two holes fit the 1″ and 5/16″ dowels. -
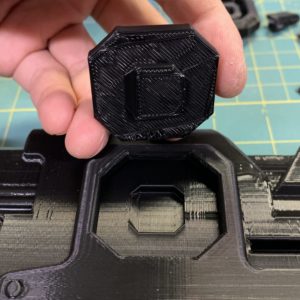
Scope before -
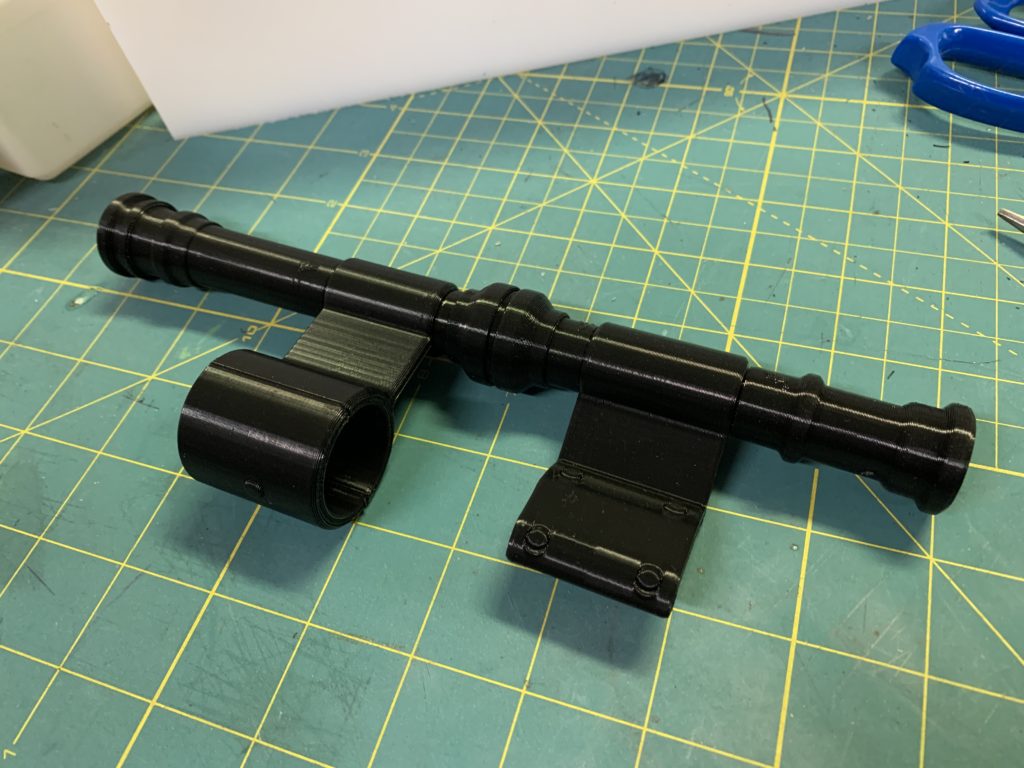
Scope after -
Scope attached to the main body -
These have two flat sides which fit back to back -
Note the positions -
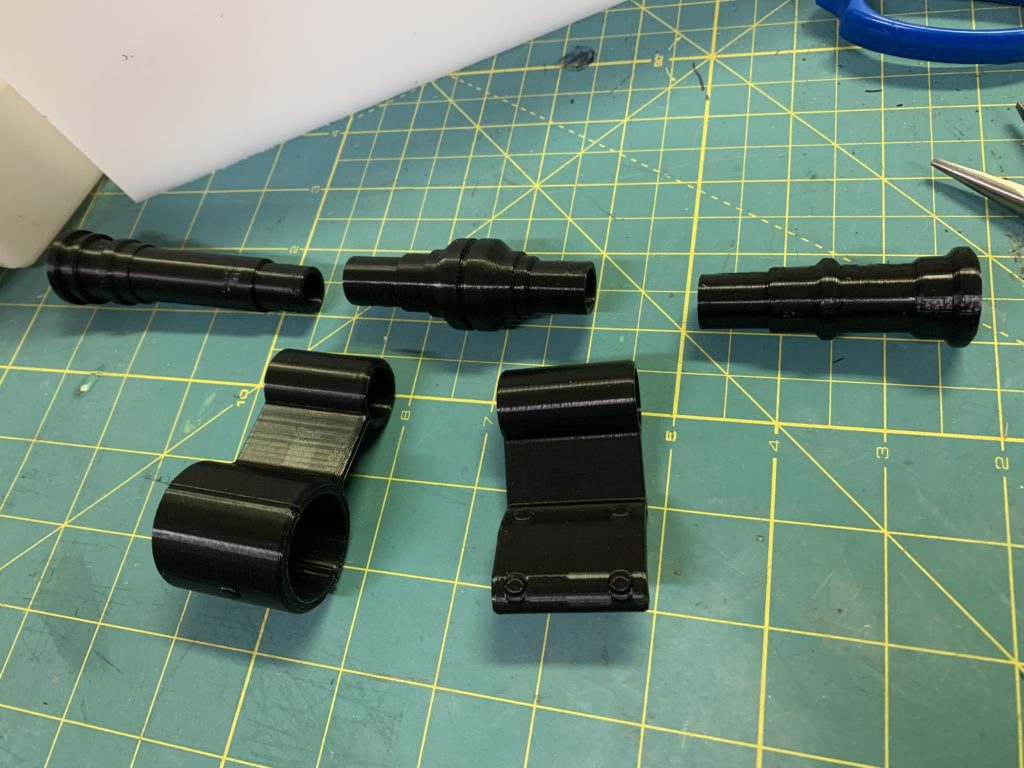
Next three pieces to together -
Note, one piece is longer than another. Short end goes in front. -
Note the shape and orientation. flatter side goes on top. -

Note, middle piece orientation -

After three pieces on the dowels -
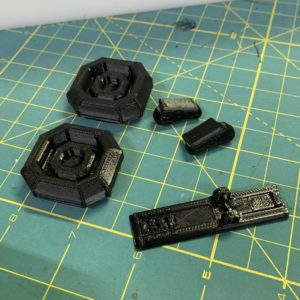
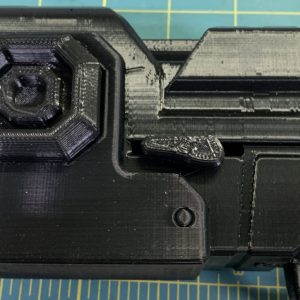
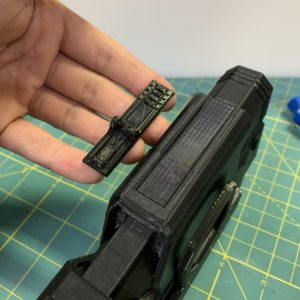
Next, smaller parts go on sides and top -
Note the orientation and details of the piece. Parts are specific to left and right. -
After side caps in place -

Before -
After -

As mentioned, some of the parts had to be shaved down a bit. It’s a tight fit. -
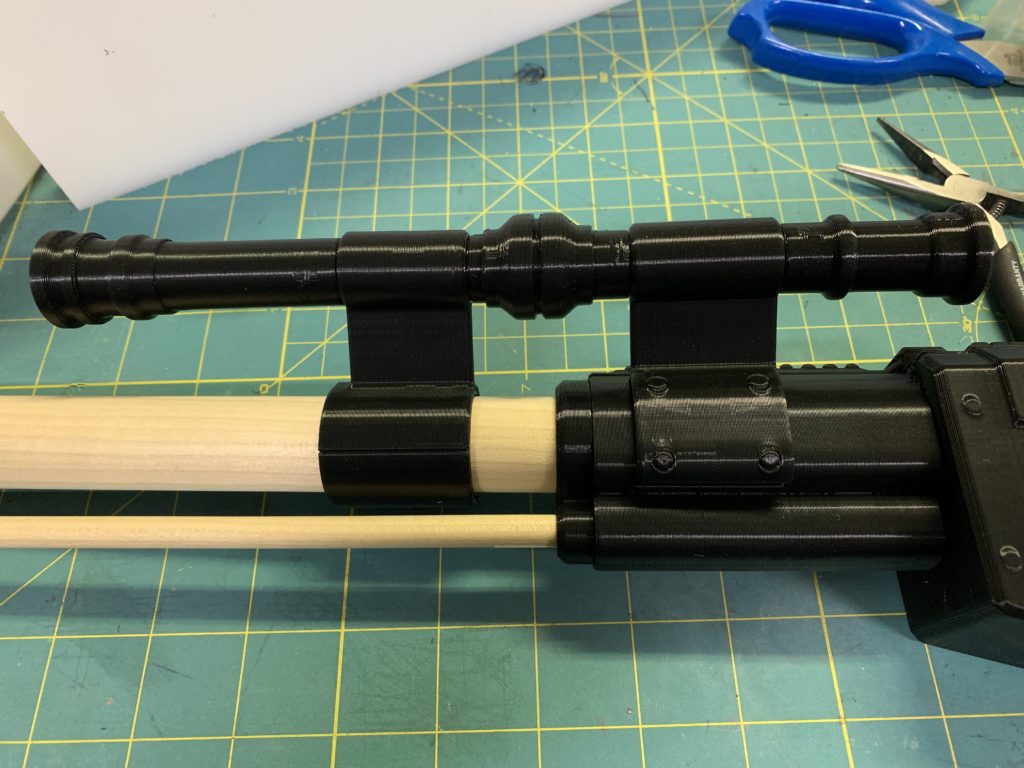
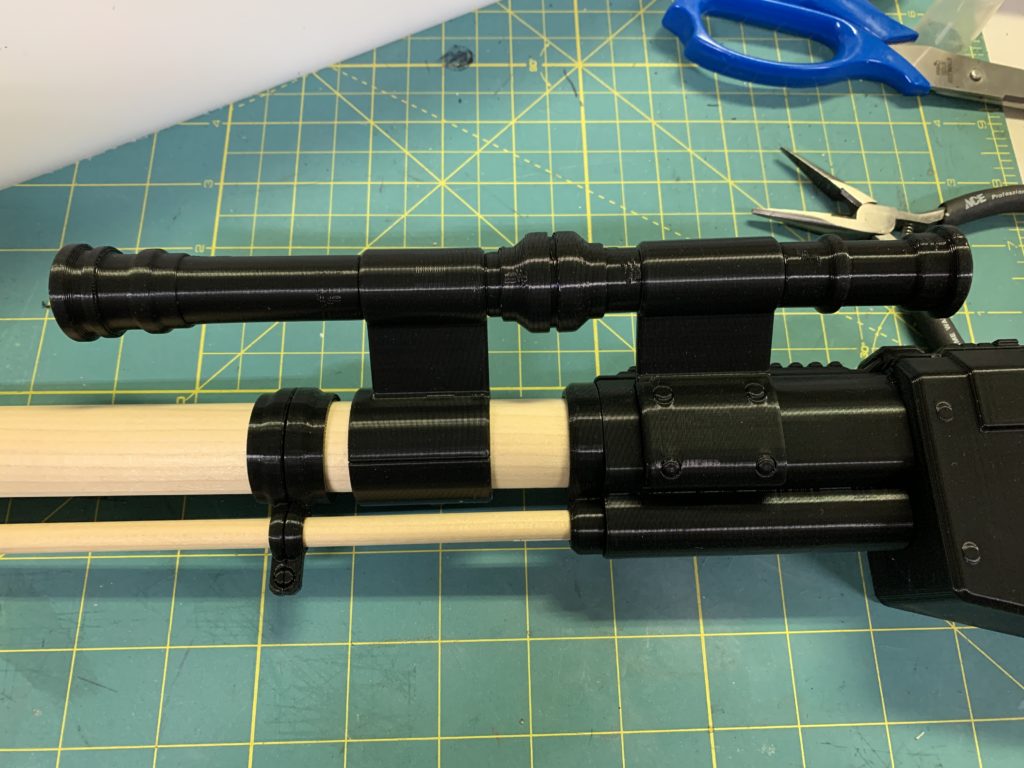
Fitting main body to stock -
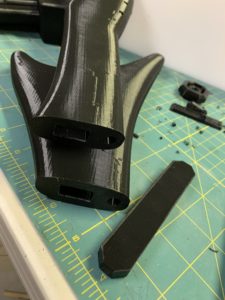
Fitting two stock pieces into one. -
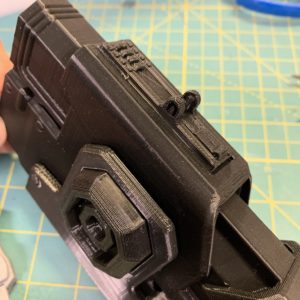
Sight goes on top -
-
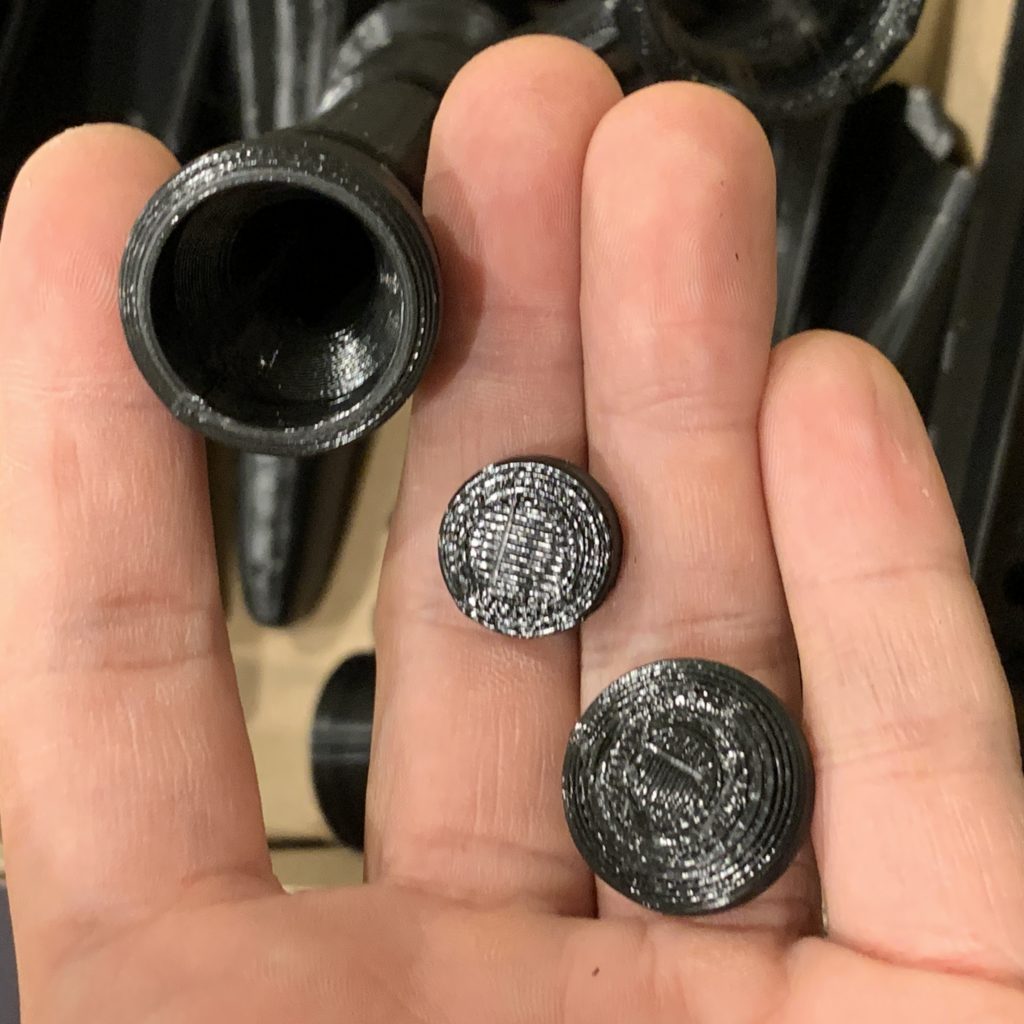
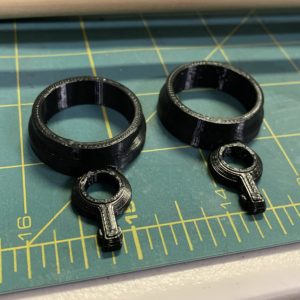
Optional end caps for the scope. Personally, I like to see through the scope.