What you’ll need:
1.) Upon receiving this kit, you’ll want to spray paint #4, #2, and #7.
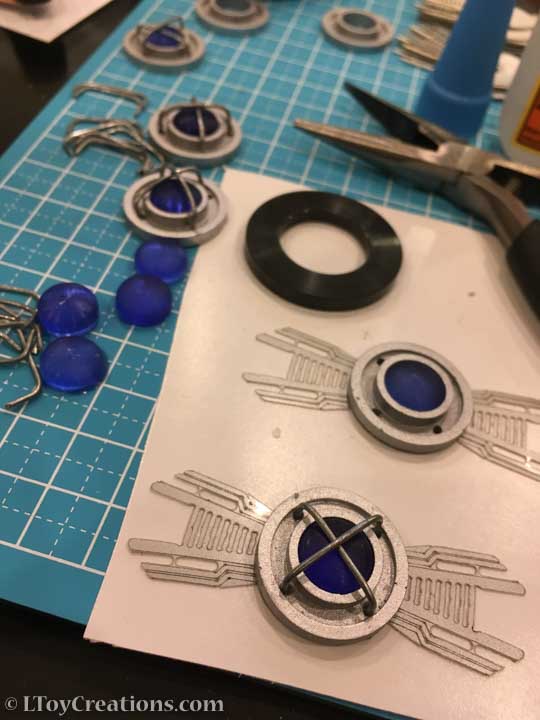
2.) You can then attach “2a” to “2”. Glue into place.
3.) Glue “1” into the inside of “2”.
4.) #4 and #5 should be a friction fit and don’t need any glue. Sand inside of #4 if needed.
5.) Glue #2 onto the face of #3.
6.) Glue #3 onto the face of #4.
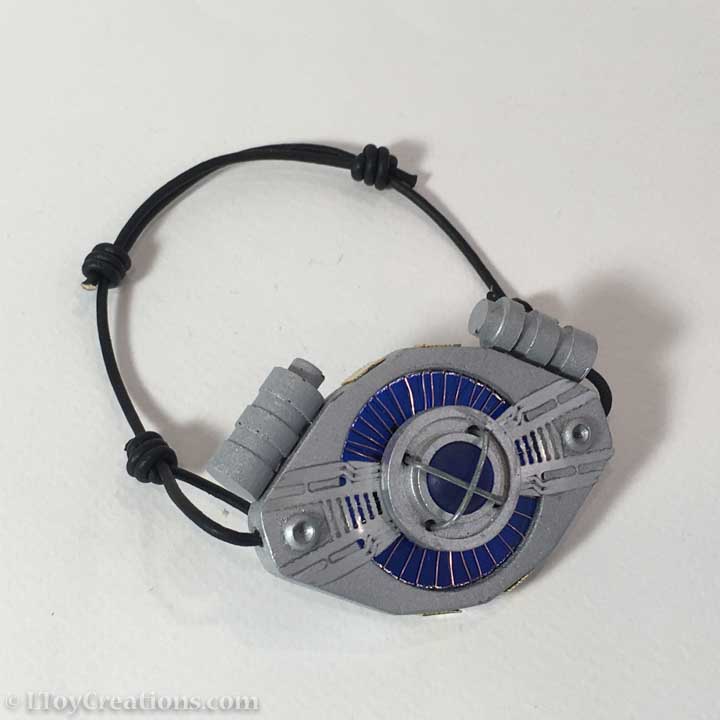
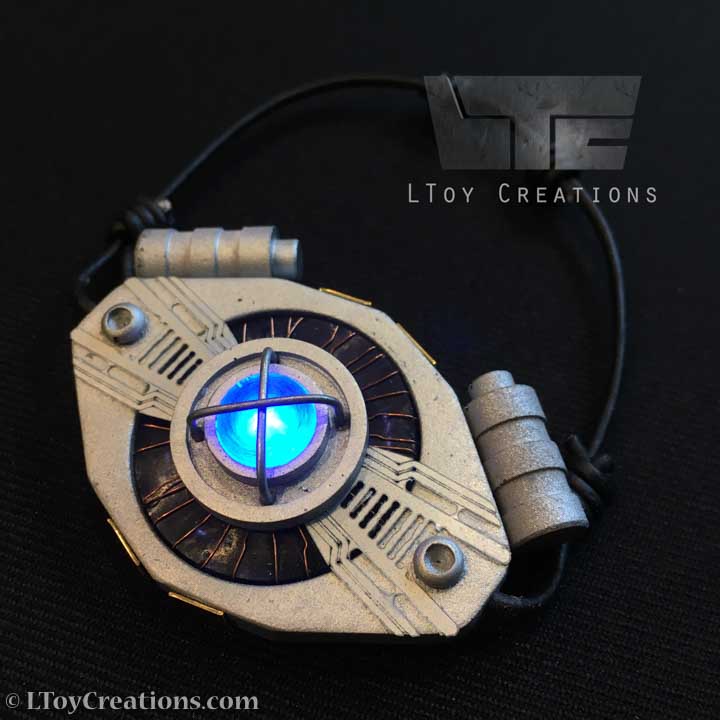
7.) Glue #6 on top and bottom as shown in pictures. (Two on the top, both left and right of center. Same for the bottom)
8.) Glue #7 on top as shown in picture.
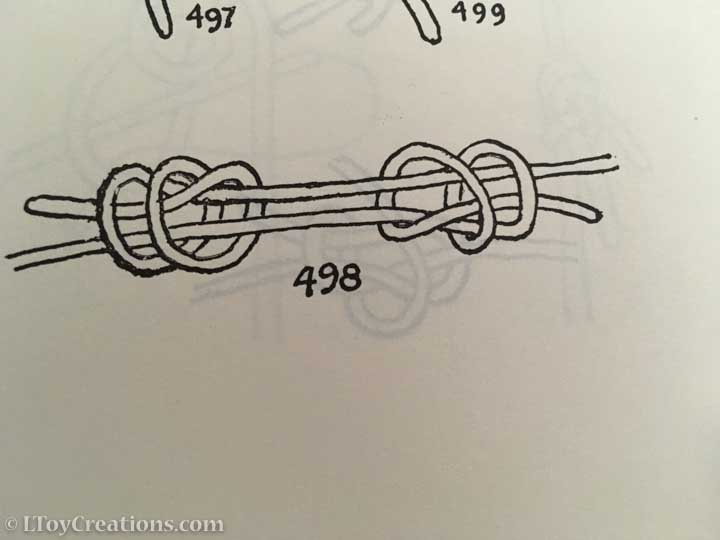
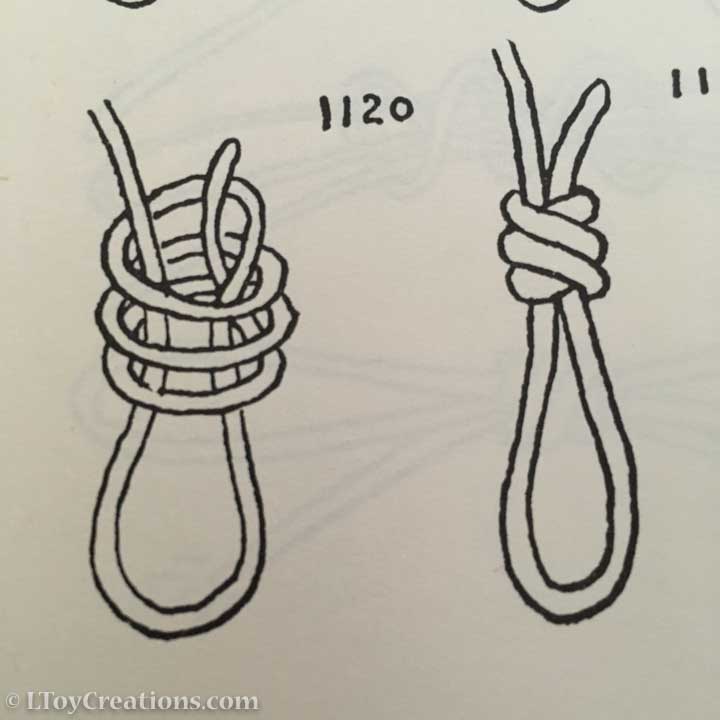
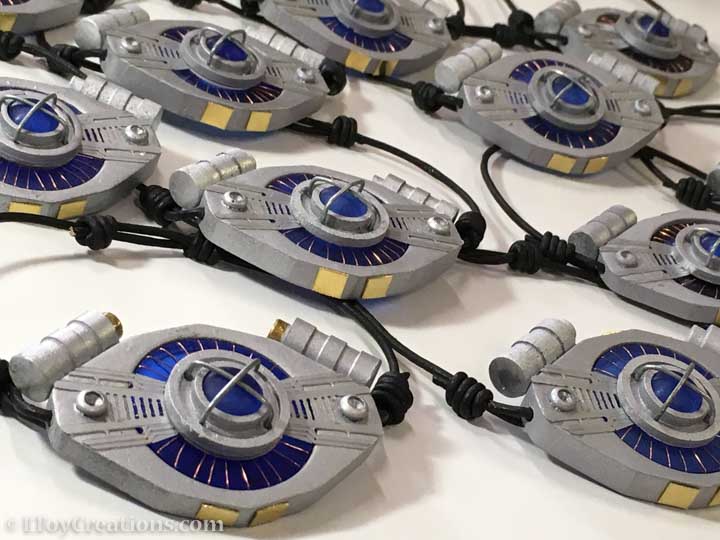
9.) Tie cord accordingly, as shown below.